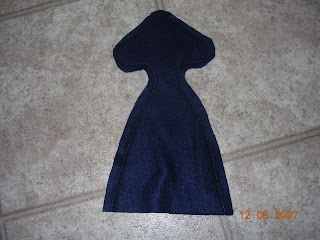
First I drew up a pattern for what I thought would make a squid. And have since altered a few of the pieces and added a circle piece. But you get the idea.
 Then I cut everything out. Making sure to cut out a contrasting color for the tentacles.
 Then I pulled out my broken down older that older sewing machine and occupied Tab.
Then sew the head peices together on the sides and top, and clip around the corners.
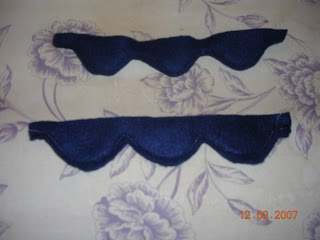
 Then sew these little pieces together along the bottom edge with the scallops and clipp the curves. Then you turn them right side out and iron them flat. (Please excuse my old ironing board. And for Benton's I will be making these scallops even bigger so they lay flat a little better.)
 Then you stitch the scalloped pieces to the top of the two rectangle pieces with very little seam allowance.
  This is what I mean by very little.
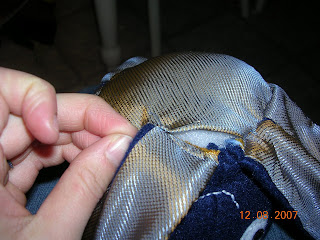
 Then you stitch the two rectangles together on the short sides with a 1/2" seam allowance with the scalloped pieces facing eachother. Then trim the seam close to the stitching. (sorry this picture really didn't turn out so that you could tell what it was)
Next you turn the rectangle so that the scallops are facing outward and you slip it inside the head, so right sides are together, matching up the seams. Stitch togehter with a 1/2" seam allowance. (It will look like this after you stich it together and pull the rectagle piece out of the head)
 Next you stitch the fleece piece of the tentacle to the contrasting fabric tentacle again with very little seam allowance.
 Then turn it right side out and press it.
 Oh, this part kinda stinks to do unless you have one of these beautiful things. I guess a pen could work too.
 And if you want it to look like this, I recommend doing the stitching before you stitch the tentacle together rather than after you attach it to the body. Let me tell you from experience it is a royal pain int he butt to decide after it is attached because then you have to detach it and slip a needle up and down the tentacle. I promise it is easier the other way.

 Then turn him inside out again and pin the circle to the bottom of the body, making sure the legs are all inside. Stich with a 1/2" seam allowance. Make sure to leave an opening large enough to turn and stuff. Trust me LEAVE A BIG ENOUGH opening. It stinks to try to rip stitches out of fleece.
  I recommend that you pay enough attention to not leave the opening it the front, not like this. It doesn't really matter but I prefer that the hand stitching not be in the front.
 Then stuff
 And now stitch shut.
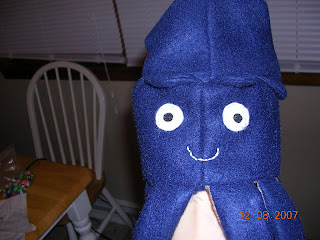
Then you have this:

 In case you were wondering, this is what the first one looked like. I made a few alterations before coming up with the one above.


Jenny, I would like to say "Well of course you can do that- you're my daughter". But I can't sew a thing without a pattern!! I am so impressed!!
ReplyDeleteyou freaking rocked this... you're my softie idol (of the day)... sorry, it's a competitive market.
ReplyDeletevery cute! I'm impressed.
ReplyDeletethat is soo cool!
ReplyDeleteyour a SUPER MOM!
I'm very impressed.